she took photos along the way in case it "turned out cute enough for a blog post". well, it is so darn cute, so here we go:
things you will need:
an ottoman of some sort
2 coffee sacks
thick cording
jute string
a yarn needle
pins, sewing machine, tan thread, marker & yardstick {she LOVES yardsticks :)}
she found these awesome coffee sacks at one of her favorite shops & the footstool at a used furniture store.
our footstool is actually a "sewing bench" with a top that opens to reveal a stash of old sewing supplies. so cool! since we always need more storage, i am positive i will find a good use for the new hidden extra space.
#1. remove the side stitching of the coffee sack, so you have one long piece of burlap. you can either rip or snip the side stitches with a seam-stripper or small scissors. be VERY careful not to snip any of the burlap, as it will unravel. the safest way is to loosen a stitch & then unravel the rest by hand.
{key: burlap ravels terribly. the sewn sides are "selvages" or finished edges. save them to use later to finish edges.}
you will end up with a long strip, about 6' long by 2' wide. {ours had been sliced open along one side....machette-like...}
#2. decide how you want the printing from the sacks to be on your ottoman. we wanted the design on top but not perfectly centered. we made the top & three sides from one sack and the fourth side from the second sack.
mark edges with pins.
#3. measure & cut your pieces. remember to allow for the seam & cording. {we had a 5/8" seam allowance. & a 2" cording circumfrence which means 1" allowance.}
double check all your measurements! {measure twice...cut once.} make sure your bottom edge is on the selvage edge. so each side piece will have three cut edges & one selvage edge.
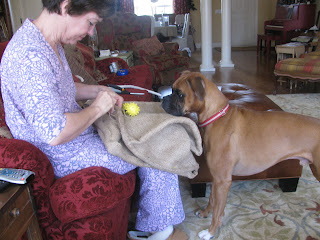
{tanky helped!}
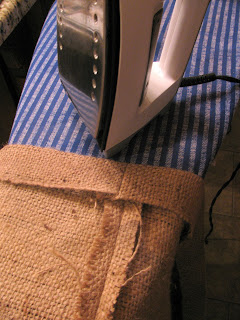
then sew the side seams to create a slip cover. be careful with your seam allowances. press open all of the seam allowances & press the hem.
{check out the progress!}
#5. cording! cut twelve pieces of cording - four for each side of the top & four for each corner edge & four for each side of the bottom. cut each 1 1/2" shorter than the edge measures, as the corners will be pretty stiff on their own.
cording also unravels easily, so tape the ends & cut through the middle of the tape, leaving it taped.
{how the end will fray if you don't tape it!}
place the cording along each seam with the seam allowance flat & pin it in place. start sewing about an inch from the corner - take a little stitch & pull the thread almost all the way through, then tie the ends together for the first knot. pull tight.
stitch with a running stitch, making sure the stitches are even. knot at each corner.
sew the cording in the hem with the same running stitch going right through the selvage.
{please play, grandma!}
& the finished stool is fantastic!! we absolutely love it. perfectly urban & homey all at the same time.
footstool: $40
two coffee sacks: $20
7 yards cording: $6.
{confession: i know NOTHING about sewing. so not only did my MIL make this awesome coffee sack ottoman, she also wrote the crafty blog post.}
thank you, lisa!!
love love,
kjp.


No comments:
Post a Comment