Showing posts with label diy. Show all posts

Wednesday, October 8, 2014

our beautiful new/old china cabinet!


earlier this year, blakey & i inherited my grandmother's china cabinet.  it was sitting in her dining room with her beautiful dishes & glasses & serving pieces for as long as i can remember.  & now it gets to be apart of our home.


i knew exactly what i wanted to do with it - paint it stark white with grey on the inside back wall & add new pretty hardware.  now, how to do that?  i haven't a clue.  that's where my husband comes in handy.


he bought this super awesome, thick white primer to paint over the super glossy brown.  we didn't have to sand it.  we didn't have to de-gloss it.  we just painted a couple of coats of the primer & that sucker was covered.  it was impressive.

{my handsome handy man}

{of course we left the fantastic wallpaper
my grandmother used to line the shelves}


& here it is!  our beautiful new/old china cabinet!  i feel like a grown up now.  we have a china cabinet.  with china in it.  & a piece of my grandmother is with us each day.

{hello, beautiful kate spade china!
so happy to see you after four years.}

love love,
kjp.

Monday, May 6, 2013

diy - monogramed cupcake flags!


cupcakes are adorable.  cupcakes with little monogrammed flags are even more adorable.

so for marybeth's baby shower, i had to go the super adorable route & make pink cupcakes with pink frosting & little pink flags with baby hannah's "h" monogrammed on them!  i searched & searched & searched pinterest & etsy & all of my favorite party decoration sites but could not find any i loved.  so i decided to make some myself.  which actually turned out to be quite easy!  #win!

{image courtesy of the mother-to-be!}

step 1. with a few sheets of paper you love, cut out squares or rectangles to your desired shape & size.  mine were approximately 1 1/2" x 3", which would fold in half to be approximately 1 1/2" x 1 1/2".  luckily for me, i had a geometric design on my paper which made it quite easy to cut in straight lines & equal sizes.  i would encourage it.


step 2.  fold each flag in half.  using cute little stamps or your fancy handwriting, personalize both sides of each flag.  if you are going to shape the flags further, as i did, practice with one to make sure you like the positing of the monogram.

{super excited to use these stamps for many fun things!}

step 3.  run a very thin line of all-purpose glue down the fold of the flag.  stick your lollipop stick on the glue with the tops matching up.  allow these to dry for a few minutes.  


step 4. using an all-purpose glue stick, put a very thin layer of glue all over the backside of one half of the flag.  i also ran a very thin line of the regular glue along the top & bottom of that backside half flag. that helped the paper stick together much nicer.  allow this to dry for a few minutes too.


step 5, if you'd like to shape your flags further, this is the time!  i cut little triangles out of the edges, so that the flags had a bit fancier shape.  {& used the triangle cut outs as confetti on the cupcake table at the party!  waste not, want not!}


yay for diy projects that actually turn out successfully!  

love love,
kjp.

Thursday, March 21, 2013

thankful thursday - he built a table for me.


blakey built a table for me!  & it's fabulous.  he knows i love farmhouse tables, so he found a diy farmhouse table on pinterest to model ours after.  dark wood table top with wide planks... stark white legs & chairs... it's beautiful!


our dining room table had seen better days.  it was almost a decade old.  the top was unattached to the legs in a corner or two.  the finish had started to come off in many places.  & there were about 400 pinholes from a certain wedding pinwheel project that will remain nameless...


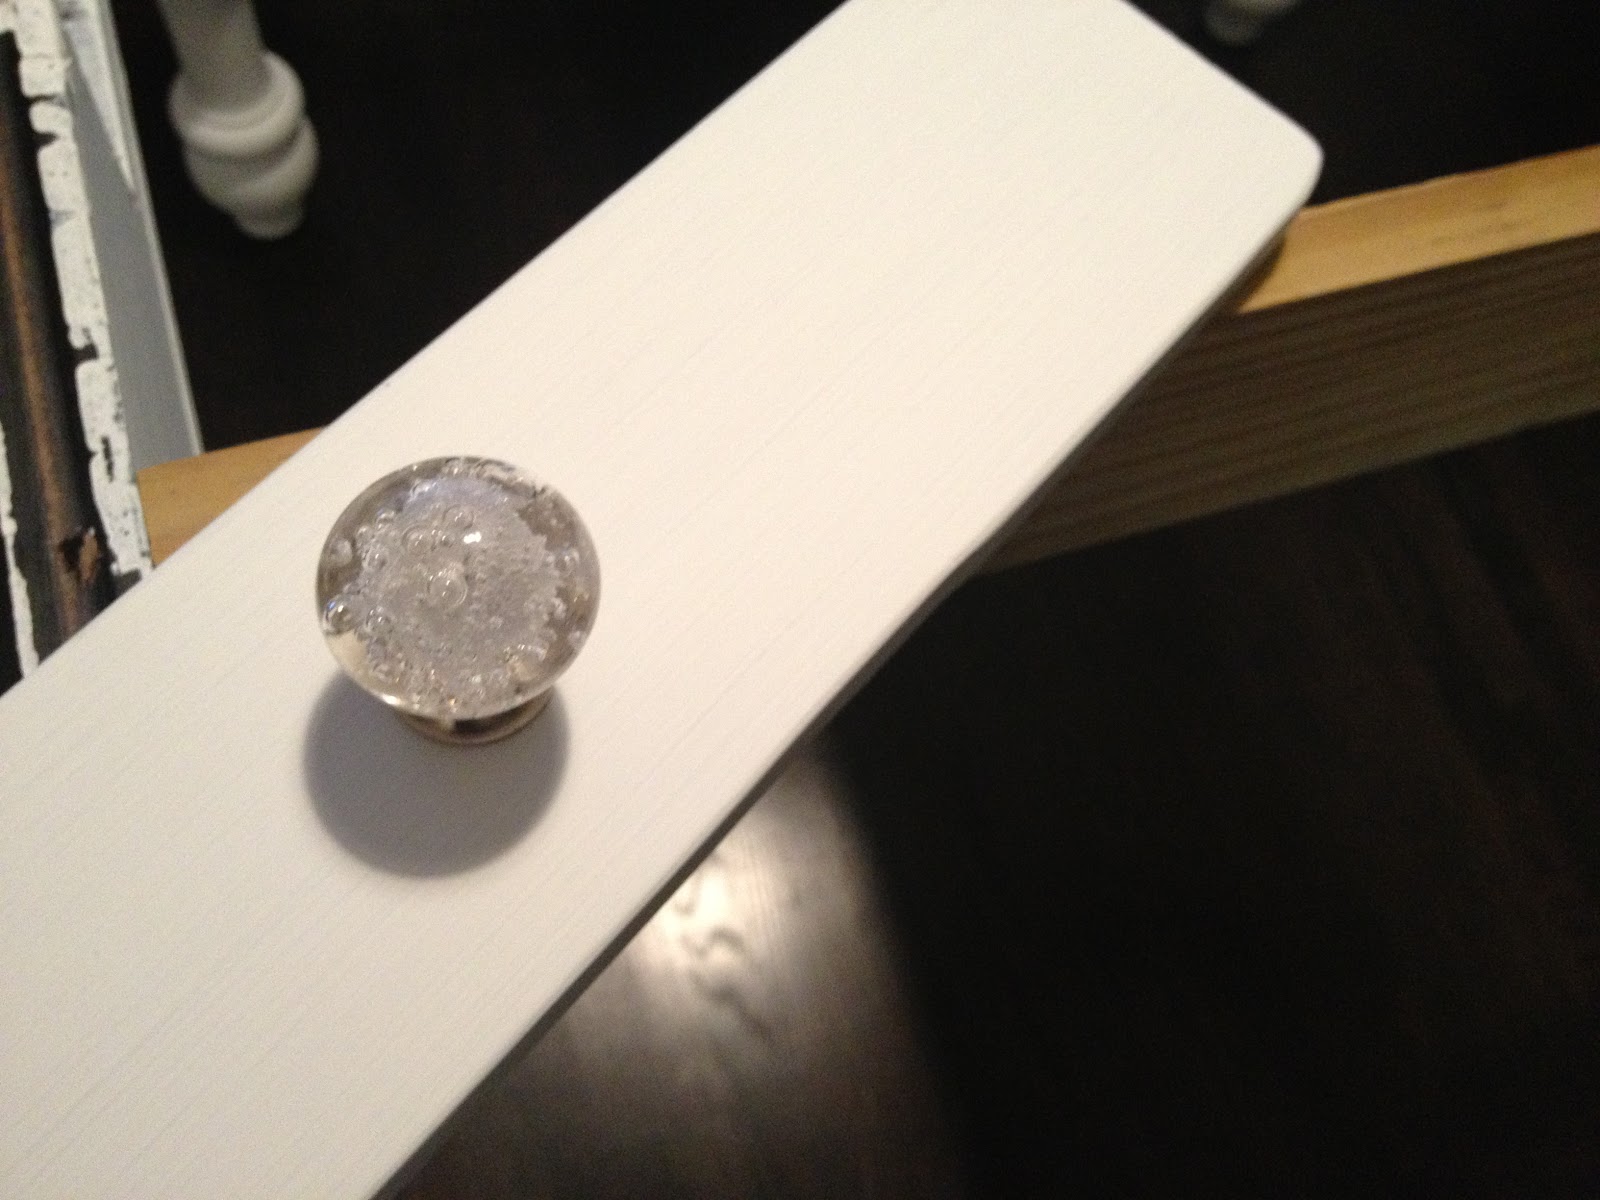
my favorite duty of the project was picking out new drawer knobs!  i love looking through beautiful drawer knobs but have never had a reason to buy them.  until now!  so julie & i had a fun knob shopping spree at anthropologie.  check out these beauties we picked out:


clear knobs with little bubbles blown in the glass.  so interesting!  so awesome.


on to the table building!  the legs & chairs were holding their own, so we painted them a bright white.  blakey took the chair seats off, sanded them down, & stained them the beautiful dark brown.


we threw out the old, sad table top & bought five 2" by 8" boards for our new top.  the nice fellas at home depot cut them down to the length we needed.  blakey sanded those down too & we got to staining.

 {tanky was a huge help.  green man too.}


once everything was sanded, stained, & dry, blakey put the table back together!  nailed the wood to the support from the bottom... re-built the drawers... screwed the chair seats to the chairs... & a gorgeous table was shining in our dining room when i got home from work!


thank you, byrds!!!  you're the best in all the world.

i hope you can think of something today for which you are thankful.

love love,
kjp.

Wednesday, October 3, 2012

baked sweet & sour chicken.

yes, that's right.  i actually made sweet & sour chicken.


don't let me lead you astray - it's baked.  but it's not healthy.  you totally pan fry it before baking it.  but that whole "baked" thing makes me feel better about it.

so let's keep calling it baked & then we can all make it.  because it's really good.  & making food that is fried is not bad every once in awhile.  enjoy your baked {but fried too} sweet & sour chicken & enjoy every single bite!

{did you like that very abbreviated version of my father's favorite moderation lecture?  as it turns out, maybe he had a good point.}

baked sweet & sour chicken
found on: pinterest
originally posted on: life as a lofthouse
{i followed the directions exactly, as i had no idea how to prior to reading this post}

chicken portion:
3 chicken breasts
salt & pepper
1 c cornstarch
2 eggs, beaten
1/4 c canola oil

sweet & sour sauce:
{did you have any idea you could just make sweet & sour sauce?
& that there are only 5 ingredients.
& that you probably have all 5 of them in your house??
life changing.}
3/4 c sugar
1/4 c ketchup
1/2 c white vinegar
1 T soy sauce
1 tsp garlic salt

1. rinse your chicken in water & cut into bite size pieces.  season with salt & pepper.  dip the chicken first into cornstarch to coat completely & second into dipped eggs.  this gets messy, by the way.  so if you are like me & have a dirty hands phobia, go with gloves!

2.  how to fry food:  heat the oil in a big skillet {or le creuset dutch oven!} over medium high heat.  make sure the oil is hot before you put the chicken in.  & definitely fry the chicken in batches!  you want some space between chicken bites.  so carefully drop the chicken bites in the hot oil & cook until browned but not cook through.  repeat this process until all of your chicken is browned.

3.  place all of that partially fried chicken on a sheet pan covered with parchment paper.  mix all of your sweet & sour sauce ingredients & whisk until combined.  it's that easy!  pour the sauce over your chicken & stir until completely coated.  {by the way, if you are thinking you will want more sauce for your chicken after it's baked, you can make more.  but i bet you wont.  it's way good without extra sauce.}

4.  bake at 350 for about an hour, stirring in the chicken every 15 minutes.  {by the way, mine needed a little extra crisp after the hour, so i broiled it on low for a few minutes.}

we ate our "baked" sweet & sour chicken with a fried rice that kind of followed the recipe also on that site.  no eggs.  onions & carrots & celery for the veggies.  it's pretty delicious!  & we added sautéed spinach too.  evoo, garlic, spinach, & salt over medium heat for a few minutes.  yum!!  & greens make everything better.  fact.

blake is still talking about this chicken.  & i made it last week.  huge hit.  maybe it's good to try new things every once in awhile.

love love,
kjp. 

Friday, August 24, 2012

that's miss chanandler bong.


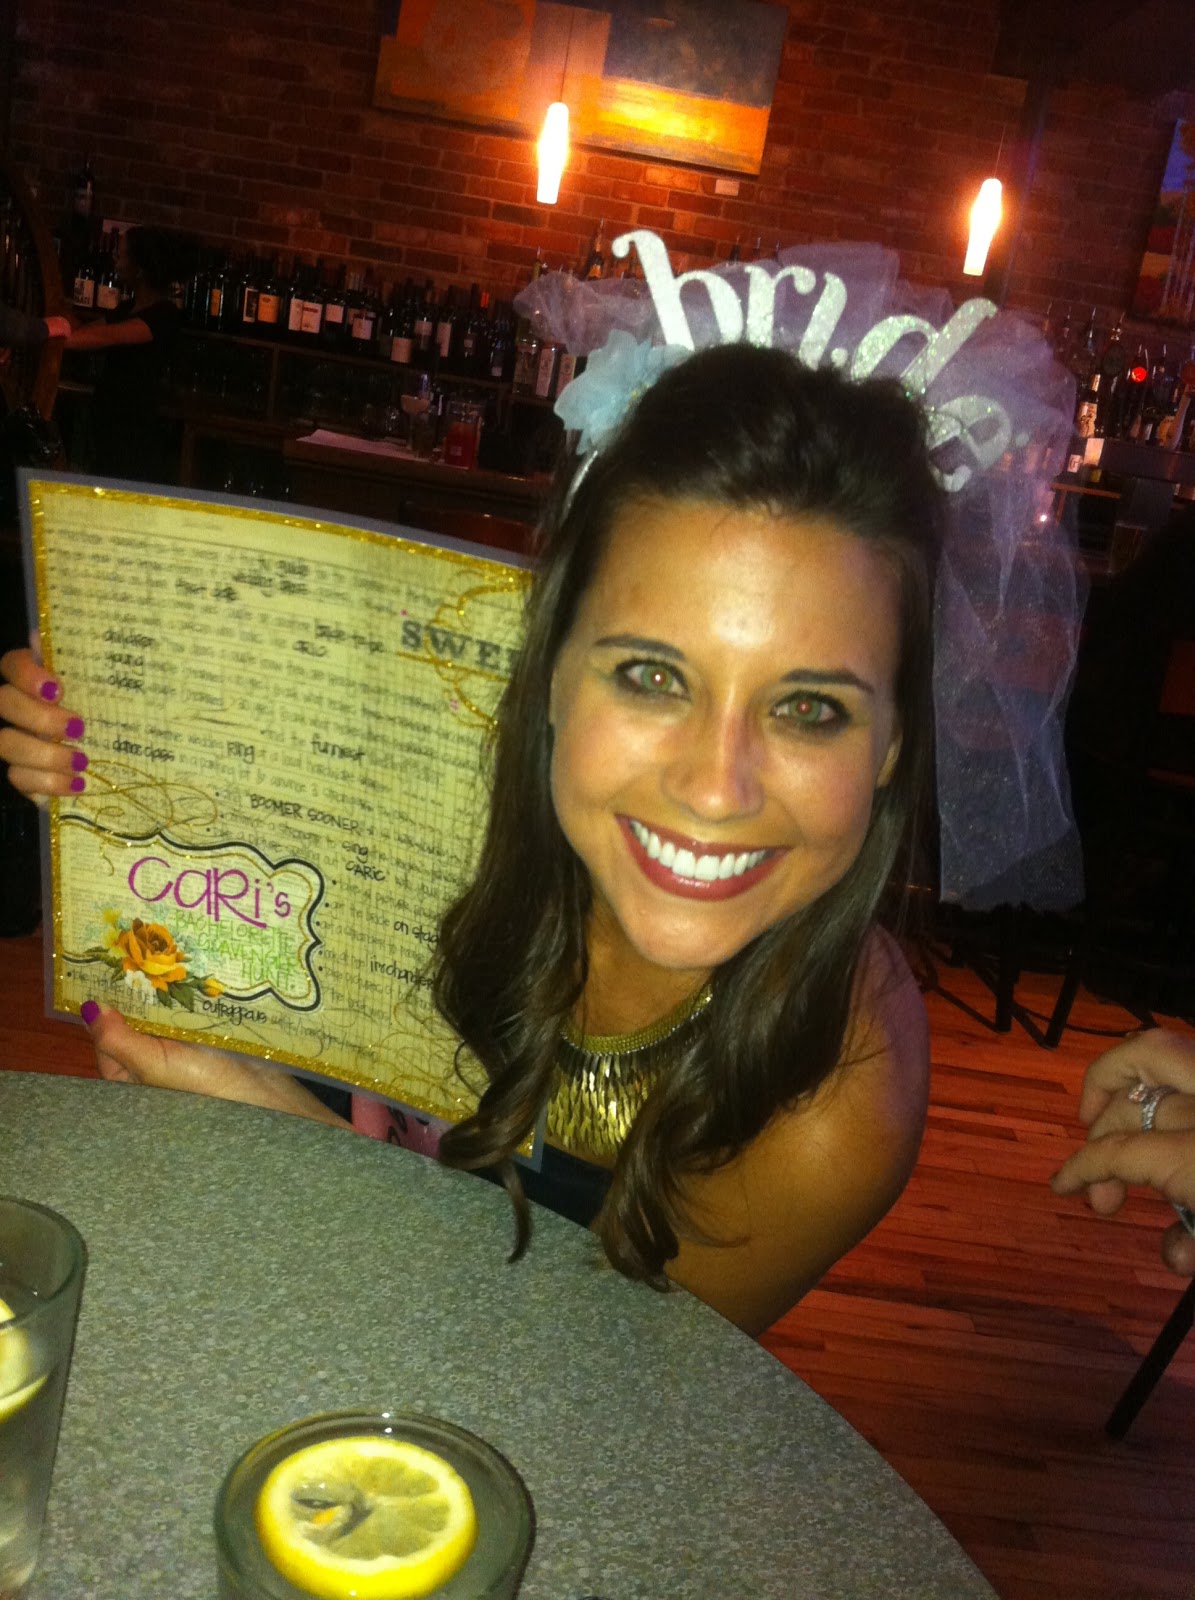
before blakey & i got married, cari helped throw the world's most amazing bachelorette party for me {check it out here}, so i was super excited to do something special for her.

a bachelorette scavenger hunt!

cari had lots of bride & wedding & marriage tasks to complete:
- find the funniest wedding card.  {julie!  your bachelorette card won :) }
- take a picture with another bride-to-be.
- find the most creative wedding ring in a local hardware store.
- model your best representation of a wedding dress, garter, or veil:


there was a little bit of a friends theme:
- introduce yourself as the owner of the tv guide {"that's MISS chanandler bong."}
- "look at me! i'm chandler!" act it out in costume.  {"could i be wearin' any more clothes??"}:


cari had plenty of fun things to do:
- start a dance class in a parking lot & ask 3 strangers to join.
- sing "BOOMER SOONER" in a bar.  loudly.
- take a picture spelling out "CARIC" with your bodies:


& she had to get some good advice:
- ask 3 children "how does a couple know they are ready to get married?"  {my favorite: so they can have babies!}
- find an older couple {married more than 30 years} & ask what makes their marriage successful.
- find a younger couple {married less than 10 years} & ask what makes their marriage successful:

{this is cari CHASING down a couple that looked like they were newlyweds.  hilarious.}
{the overwhelming answer to this question: remember your anniversary!}


love you, bride!!  i hope your bachelorette party was all you hoped & dreamed.  & that you know how very much we all love you & are so incredibly excited for you & aric.

love love,
kjp.

Wednesday, August 22, 2012

she's the bride. {yeah, you are.} awoohoo!


our goal of the entire weekend was to make our fabulous friend feel like the special bride she is.  & i hope we did just that.  

{the fantastic "caric" koozies from rouge & co
& the fabulous bridesmaid wine glasses the allison gave us!}


have i ever told you about cari, armstrong, & my love for friends, the tv show?  it's pretty much ridiculous.  we used to sit in our dorm room & kappa room & watch episodes over & over & over again.  we can literally quote entire episodes.  just ask & i promise we will :)  #1 favorite: the one where no one's ready.  # 2 favorite: the one with the embryos.  & the absolute best part of that episode: the trivia game.

"michael flatley, lord of the dance!"
"the irish jig guy??"
"his legs flail about as if independent from his body!"

{"the game board is ready."}

so armstrong recreated the game board just for cari!!!!  it.was.amazing.  absolutely incredible.

{it looks the exact same!!}

she asked aric lots of questions about him & her & their relationship & their future.  so we then got to ask cari what his answers were...

{"firsts.  favorites.  future.  fears & pet peeves."}

& for every wrong answer, cari had to put a piece of bubble gum in her mouth.  the huge gigantic not tasty double bubble kind.

{she might have gotten a few wrong}

the very best question was last: "what are your future kids' names?"  cari has been naming her unborn children for as long as we have been friends.  she's been pretty darn secretive about them & the list is ever growing.  so when we asked, she got super excited & started naming them off... & when she couldn't remember ALL of them, she ran & got her phone & started reading them from her phone.  armstrong might have been egging her on...  

to which we finally found out aric's answer: "i was sworn to secrecy on this one!  cari might kill me if i tell.  they are all picked out though."

{smart boy}

{HILARIOUS}

& as in the fabulous episode, the game ends with THE LIGHTENING ROUND!  aric listed 50 reasons why he loved cari.  each of us had a card & read them off to her.

{cari is marrying a good one.  a very good one.}


& what bachelorette party would be complete without a lingerie shower?!

{super cute & classy bride veil & soon-to-be sash.
well done, allison!}

{the gorgeous lingerie cookies from brittany}


& even more bachelorette party to come!!

love love,
kjp.
Wednesday, January 18, 2012

a DIY coffee sack ottoman!

while we were home over christmas, my mother-in-law made us a super awesome ottoman using old coffee bean sacks & a used footstool!

she took photos along the way in case it "turned out cute enough for a blog post".  well, it is so darn cute, so here we go:

things you will need:
an ottoman of some sort
2 coffee sacks
thick cording
jute string
a yarn needle
pins, sewing machine, tan thread, marker & yardstick {she LOVES yardsticks :)}

she found these awesome coffee sacks at one of her favorite shops & the footstool at a used furniture store.


our footstool is actually a "sewing bench" with a top that opens to reveal a stash of old sewing supplies.  so cool!  since we always need more storage, i am positive i will find a good use for the new hidden extra space.


#1.  remove the side stitching of the coffee sack, so you have one long piece of burlap.  you can either rip or snip the side stitches with a seam-stripper or small scissors.  be VERY careful not to snip any of the burlap, as it will unravel.  the safest way is to loosen a stitch & then unravel the rest by hand.


{key: burlap ravels terribly.  the sewn sides are "selvages" or finished edges.  save them to use later to finish edges.}

you will end up with a long strip, about 6' long by 2' wide.  {ours had been sliced open along one side....machette-like...}


#2.  decide how you want the printing from the sacks to be on your ottoman.  we wanted the design on top but not perfectly centered.  we made the top & three sides from one sack and the fourth side from the second sack.


mark edges with pins.

#3.  measure & cut your pieces.  remember to allow for the seam & cording.  {we had a 5/8" seam allowance.  & a 2" cording circumfrence which means 1" allowance.}


double check all your measurements!  {measure twice...cut once.}  make sure your bottom edge is on the selvage edge.  so each side piece will have three cut edges & one selvage edge.

{tanky helped!}

#4.  using a sewing machine, sew the pieces together with a tight, straight stitch.  {goal: to keep the burlap from unraveling}.  burlap is double-sided, so make sure the pretty side is on the outside.  & make sure the selvage is the opposite end from the sewn side.


then sew the side seams to create a slip cover.  be careful with your seam allowances.  press open all of the seam allowances & press the hem.


{check out the progress!}

#5.  cording!  cut twelve pieces of cording - four for each side of the top & four for each corner edge & four for each side of the bottom.  cut each 1 1/2" shorter than the edge measures, as the corners will be pretty stiff on their own.

cording also unravels easily, so tape the ends & cut through the middle of the tape, leaving it taped.


{how the end will fray if you don't tape it!}

sew the cording in by hand with jute string & a yarn needle.


place the cording along each seam with the seam allowance flat & pin it in place.  start sewing about an inch from the corner - take a little stitch & pull the thread almost all the way through, then tie the ends together for the first knot.  pull tight.


stitch with a running stitch, making sure the stitches are even.  knot at each corner.

sew the cording in the hem with the same running stitch going right through the selvage.


 {please play, grandma!}

& the finished stool is fantastic!!  we absolutely love it.  perfectly urban & homey all at the same time.


total cost = $66:
footstool: $40
two coffee sacks: $20
7 yards cording: $6.

{confession: i know NOTHING about sewing.  so not only did my MIL make this awesome coffee sack ottoman, she also wrote the crafty blog post.}

thank you, lisa!!

love love,
kjp.